Monday, July 23, 2012

Sock Hobby Horse

I've had a couple of pairs of socks that I bought on sale that are super cute, but I can't actually wear because my calves are too big :-(.  So I decided to make a gift for my neice. 

It was super fun to make so I'm going to make more and list them on my etsy, but for now, you can make your own.

You need:
A Sock
Yarn
Stuffing
A little Felt
A dowel rod (I used a 7/8th 36" dowel from walmart)
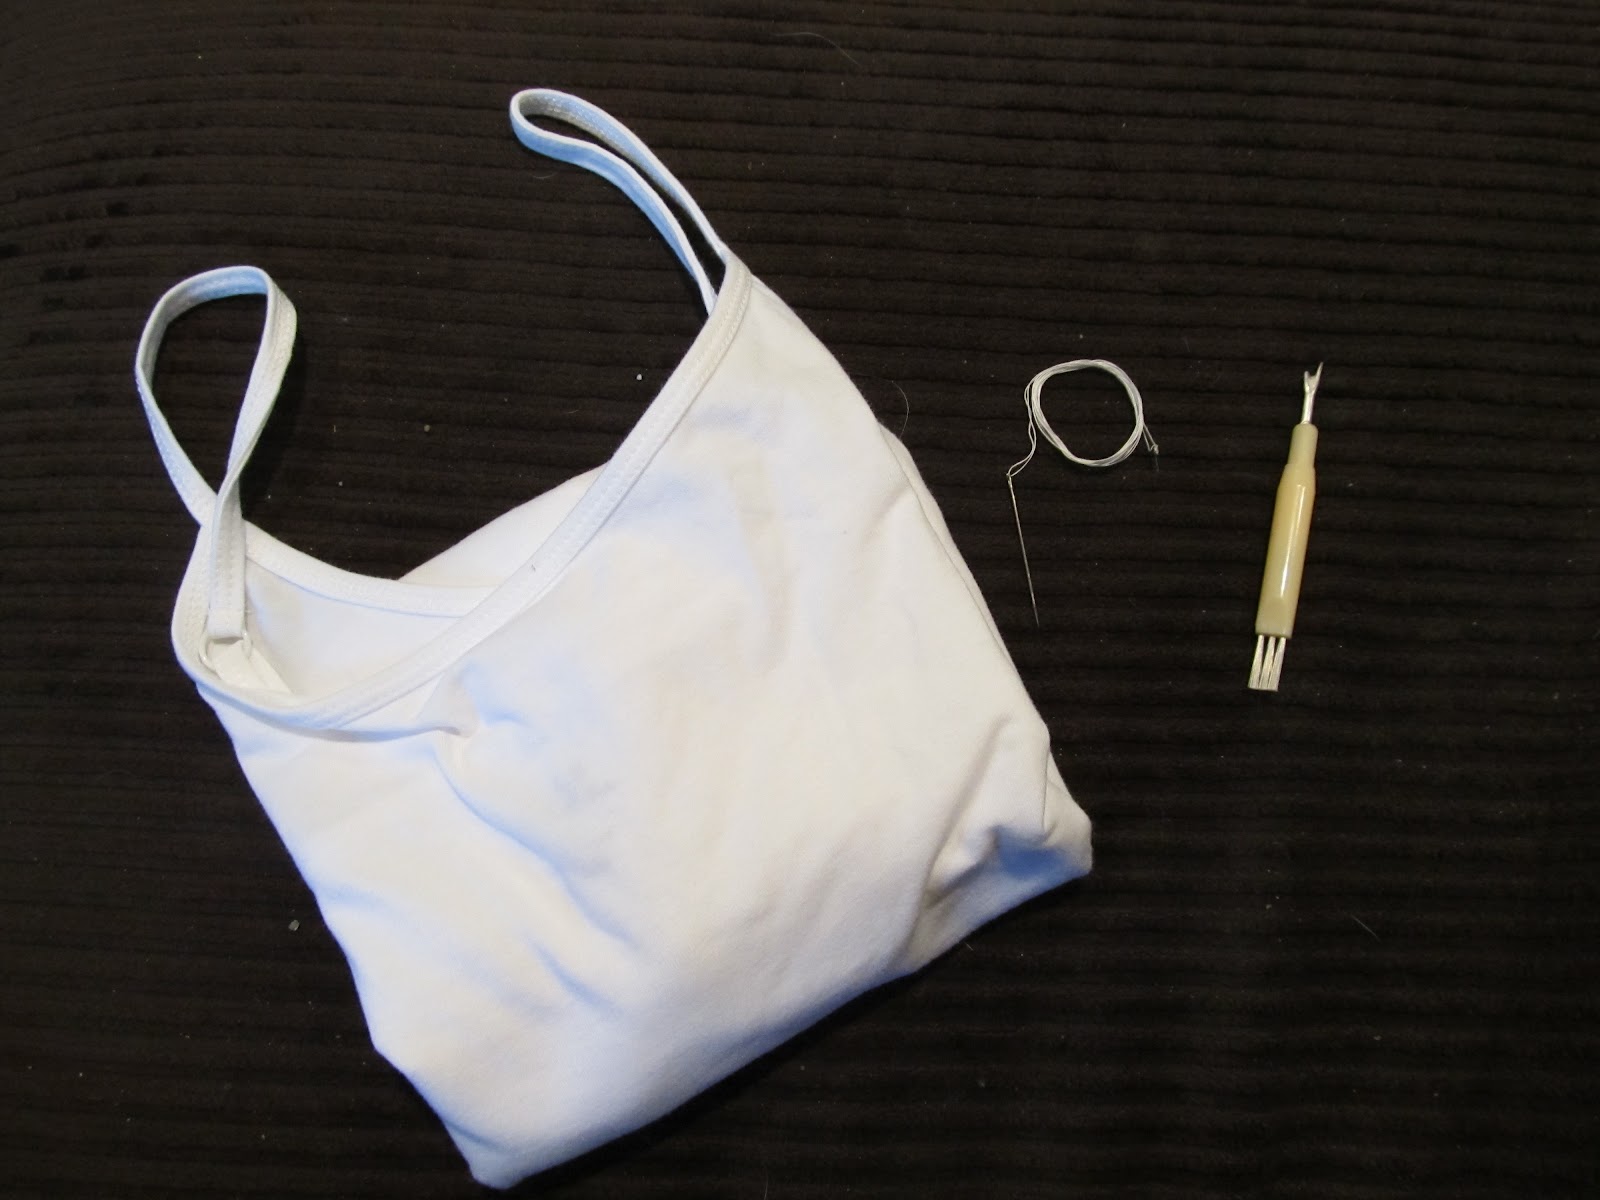
Needle and thread


Put a little stuffing in the sock foot


Wrap the yarn around your fingers a bunch of times. I recommend using a bunch of different colors to make an interesting mane


Cut the yarn and make a little pile to work from

Thread your needle with one of the pieces of yarn and stitch it through the center of the heel and tie it in a knot.  Repeat going from the center of the heel to about 2 -3 inches from the top of the ankle.  Stitch as much yarn into the mane to make it as full as you like, and bring it as far forward as you like. I like to bring the mane a bit more forward of the ears because it gives the horse a cute, more pony like appearance.

Speaking of ears (sorry I forgot to take a picture of the process) cut a triangle of felt then gather the triangle a bit to make it curve.  Stitch the curved piece of felt to either side of the mane


Cut two ovals of white felt and two small circles of black felt.  Stitch them together, I used a pink thread to give the horse a pink eye color


Stitch the eye onto the horse straight infront of the ear.


To make the nostrils, take your thread up and back down through the toe of the sock like below.

Tie the thread like a shoelace


 and pull it tight


 and knot it and trim off the extra thread


To make the bridle take some of the yarn (about 5 arm lenghts of each color) and braid the length.


Wrap the braid around the nose of the horse


And tie the end of the braid to the opposite side of the nose loop creating the reignes


Cut 2 felt circles big enough to cover the knots


Decorate the circles however you wish, it is just to cover the knot holding the reigns.  Stitch the circle over the knot.


Lay the dowel rod out next to the horse with the top of the rod about equal with the ears and mark two dots about an inch apart about an inch above the bottom of the sock.  Using a drill with a fairly small bit, drill through your dots.


Insert the dowel into the horse

 Spread some glue around the dowel between the holes (not neccesary, but I like to make sure that the horse is really secure.  Thread your needles with some string or yarn.  Stitch through the holes and the sock.


Wrap the yarn around the bottom of the horse and knot it.


Spread a little glue over the string, again this isn't really necessary, I just want to make sure its secure before any kids play with it.


 Once the glue dries your new horse is ready to play with!
 
... Too bad my baby bear isn't quite old enough to play with it, though it didn't stop him from tasting it (its delicious by the way)


TA DA!


Isn't that Sew Cool!

Tuesday, July 17, 2012

Turn a regular Tank into a nursing tank


I've been a bit busy lately, so most of my projects lately have been dinner, for the baby, or for keeping me not naked.  This falls along the lines of being not naked. Since I'm breastfeeding my baby bear, nursing tanks have become my uniform, however there are more days in the week than I have nursing tanks, plus they're SO expensive. So, in order to not have to do laundry more than once a week, I need more clothes.

What follows is how to turn a regular tank top into a nursing tank top.

Supplies:
  • Tank top (mine was $6 from Meijer)
  • Needle and thread
  • Seam Ripper


On the back seam of the tank top, carefully rip out the stitches that are holding the strap to the back of the tank.

Take the strap about two inches from the seam on the front of the strap and loop it around.  Using the machine stitching for a guide, stitch through those holes, that way it looks like the loop was machine stitched on when it was manufactured.

Trim off the the strap just below your stitching


The loops go on the nursing bra just below the clicky bit ( can't think of what to call that connector thing other than the clicky bit).  You open the bra like you do when you're nursing, the put the loop on the cup part that pulls down, then when you close the bra back up it keeps you nice and covered.  They do hang down a little low in the back so I don't recommend wearing them by themselves, but if you wear this under a plain T shirt, when you nurse, your stomach won't hang out.
Please ignore the ratty hair, I need a haircut (or at least a hair brush) something fierce

Isn't that Sew Cool?

Date Night Jar

Wow, I thought my last gap was long... I just realized I haven't posted since April...

Sorry.

A few weeks ago, my husband and I decided we needed to have a grownup night, but couldn't decide what to do, so I came up with a way for us to decide what to do AND have a pretty decoration that would remind us to spend a little more time together.

I present to you...

The Date Night Jar

I took a tacky Halloween canister that I found at goodwill and turned it into this!


I started with writing the words I wanted (Date Night) in sharpie on the side of the jar, probably not really neccesary, but I didn't want to free hand it.


 Then I traced over the letters with my hot glue gun.  You don't need to put anything in it or on it, its just to create the raised letters. (Sorry about the picture its really hard to show plain hot glue on such a busy container

 Then you grab a spray paint that works on the type of container you have (mine was cheap plastic so I grabbed a can of Krylon I had left from another project) and tape off wherever you don't want paint.  I didn't want the paint to go over the lid because i loved the mechanism as it was and I wasn't sure if it would be as pretty brown, so I taped off a mostly straight line about an inch and a half away from the opening of the jar.


Then you spray, gently and in thin coats (it took me probably 4 coats to cover the ghosts and pumpkins) If you get impatient and do bigger coats, when it dries it kindof cracks. Make sure to spray with it standing up and with it on its lid so that you get all sides of the glue
 (please forgive me for the picture it was about 103 outside so i took a picture from inside after spraying it)

I took some index cards and cut them in half and both me and my hubby wrote down date ideas.  When my we get an evening or a day to do something together, we pull out a card.


Then we have it sitting on our mantle as a way of reminding us to make sure we keep making time for each other.  Its easy to get into a routine between work, kids, and housework that doesn't necessarily make time for us as a couple, and since us being solid is what made the baby bear happen, I want to make sure we don't lose track of what made us great.


Isn't that Sew cool?