Supplies:
- Mason jar, Ring, and Lid pieces
- Scrap ribbon
- Pin
- Needle &Thread
- Fluff (poly fill or fabric scraps even would work)
- Fabric (a large-ish fabric scrap would work, enough to cover the entire jar give you plenty of extra to work with)
- Pen, pencil, or fabric marker
- Scissors

To determine the size fabric you will need, wrap the ribbon around your mason jar ring one and a half times (this doesn't have to be precise, the smaller you make the ribbon the shorter your pincushion will be, if you want it big and puffy, like a marshmallow sitting on top of the jar, make the ribbon longer, if you want it tighter make the ribbon shorter)

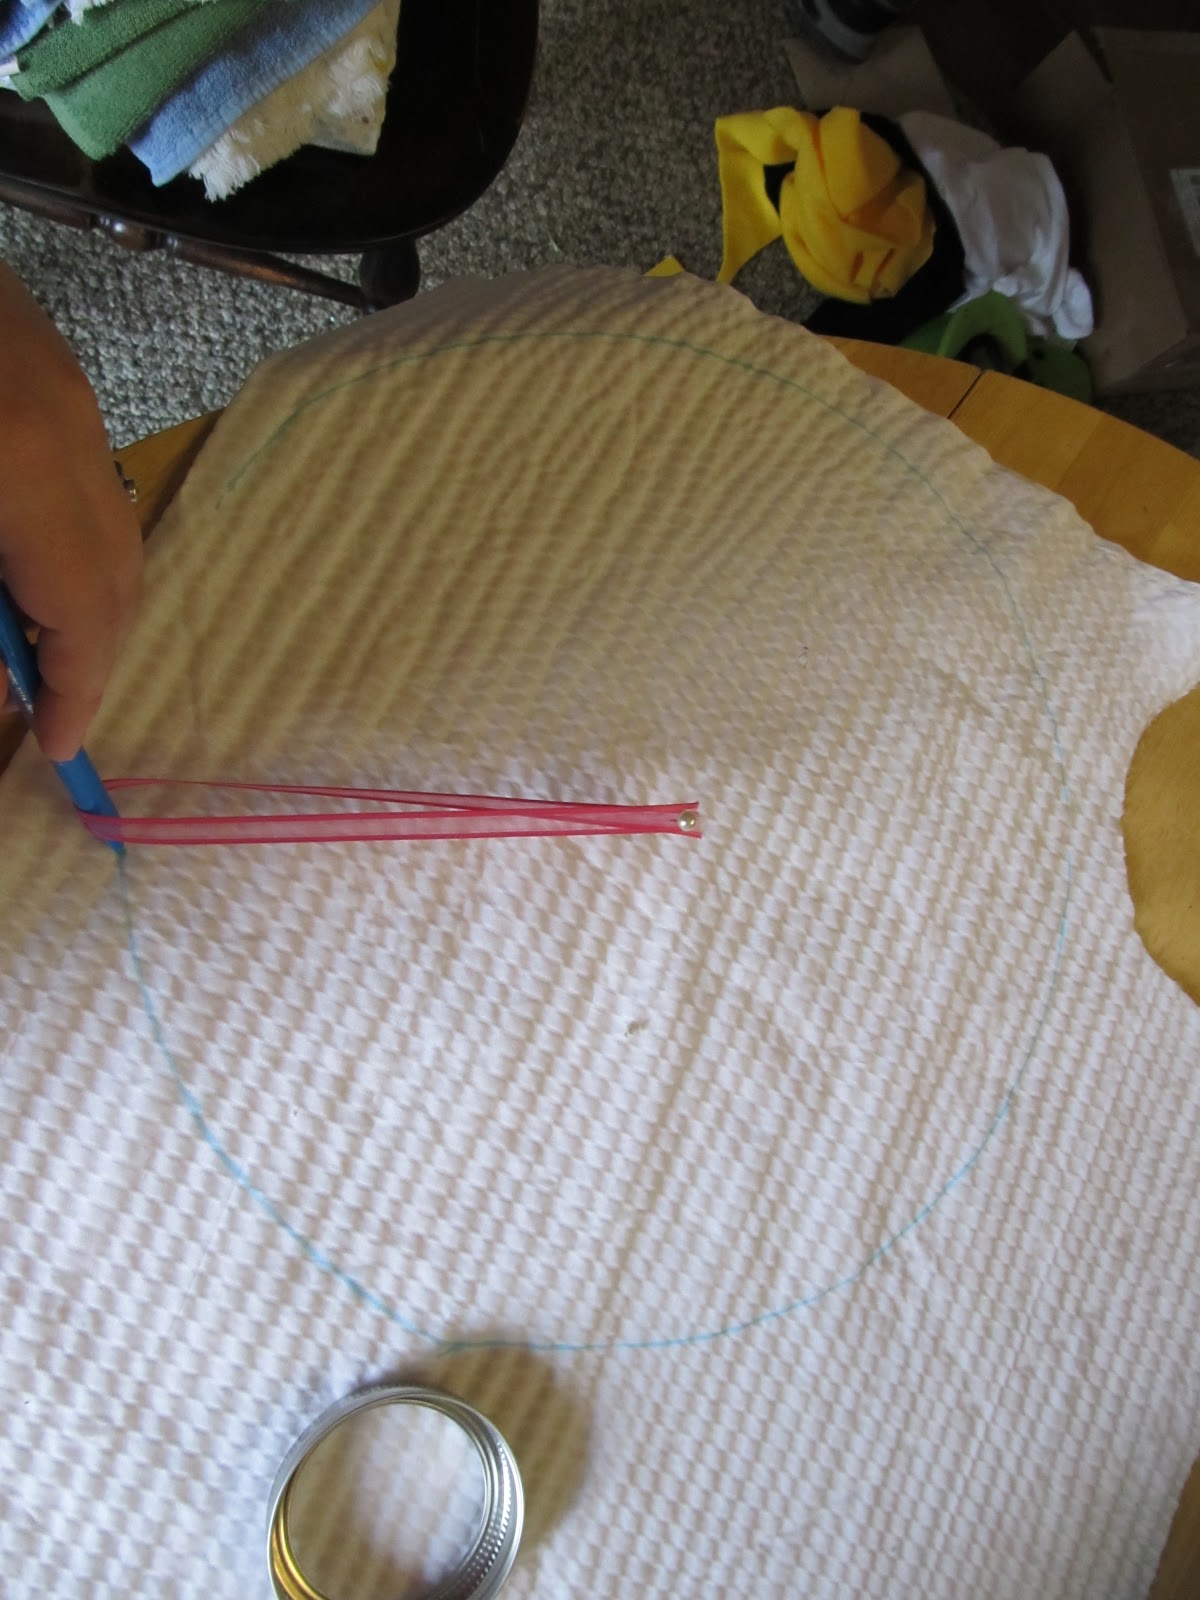
Place your pin into the ends of the ribbon and into the center of your fabric to make a rudimentary compass. Trace a circle onto your fabric (please ignore the mess on the floor in this picture, I need to do some cleaning)
Cut your circle out

With your needle and thread, sew a running stitch around the edge of the circle leaving a bit of a tail at the start and end points.

Put some fluff and the lid to the jar inside the circle and pull the strings tightly to close them in. Knot the two strings together and cut off an excess.


Slip the ring over the lid and pull any excess fabric or fluff up to the top where the pincushion will be.

Screw the lid onto your jar (it may take some force to get the ring to catch due to all the fabric that is now in the way) and decorate if you'd like (your ribbon should be just about the right length to fit around the lid)

TA DA! Brand new pincushion with storage underneath!

Happy Crafting!
No comments:
Post a Comment